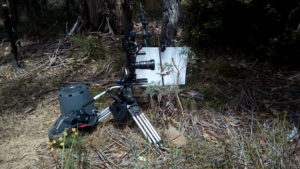
Here is how I filmed the macro shots in this weeks video in the field. This pretty much is my standard way of doing similar sorts of shoots where it is impossible to move the subjects to a more sheltered location.

The shoot days were pretty breezy and that made filming the macro shots very tricky, even tiny movements end up looking like earthquakes when you are using high levels of magnification. Even just the ants moving were causing problems with the branch bouncing up and down and when the wind blew it was next to impossible to get a steady shot.

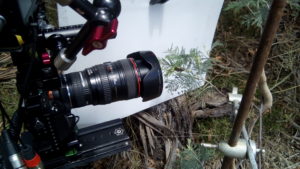
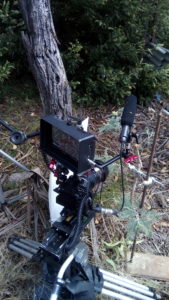
The photo shows my setup. I used a heavy lab stand and clamp to steady the branch the caterpillar was sitting on. Initially this disturbed the ants but after a few minutes they settled back down as if nothing had happened. The second tip was to use a rigid white piece of cor-flute board to the windward side of the area I was trying to protect. This left a small pocket of stiller air most of the time and had the added advantage of bouncing some extra fill light back into the scene too. (If you dont want the fill just use a matt back board)
The macro shots used my trusty Canon MP65, it covers the range of 1:1 to 5:1 in macro in one neat lens package. (To explain further, 1:1 to 5:1 refers to magnification, so at 1:1 the image on the camera sensor is the same size as the subject. At 5:1 the image on the sensor is 5x magnified ie larger, that the actual subject. That is how you can see an ant only 3mm long in so much detail.)

The other essential piece of kit is the slide plate between the camera and tripod. The lens does not focus as like a normal lens, you turn the barrel to change magnification (not to focus) and to actually focus you slide the whole camera rig toward and away from the subject. It is fiddly but also very satisfying to see things to small to normally observe.
I hope you like these insights behind the scenes and feel free to ask me any questions you may have and I will do my best to answer them for you.
